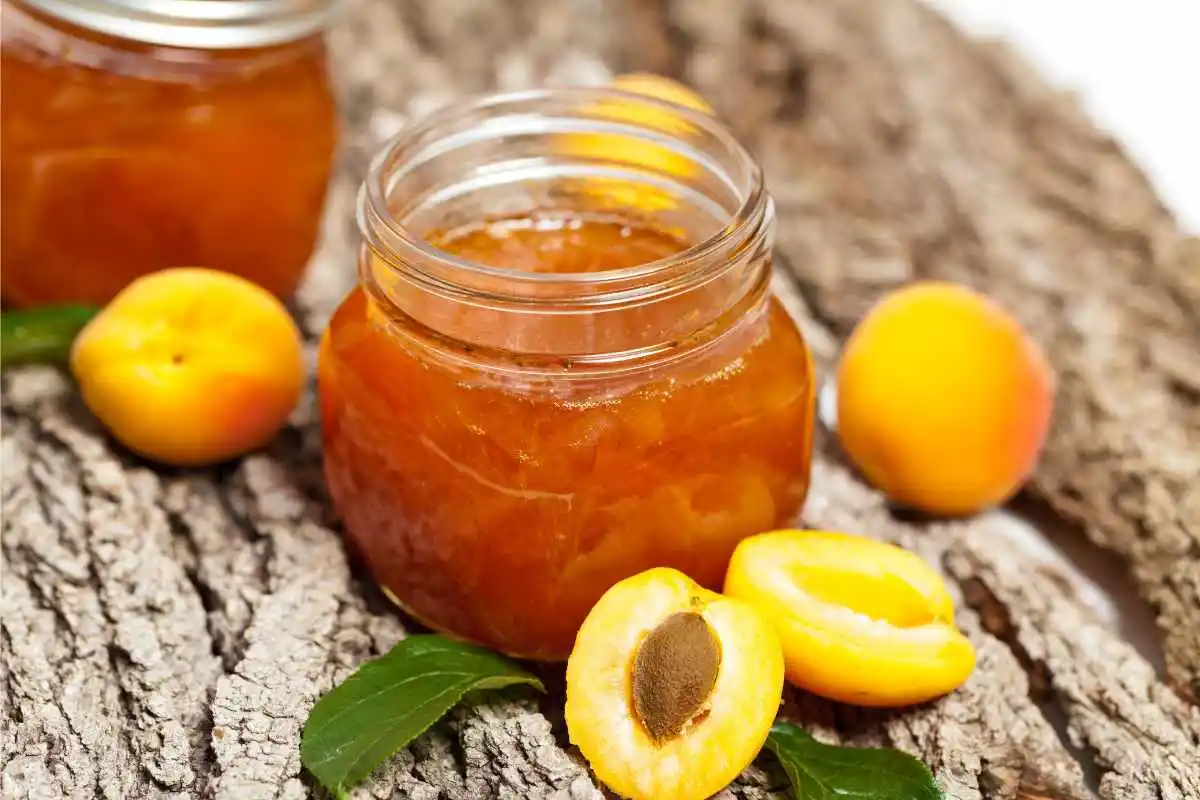
Making your own apricot jam at home is not only rewarding but also surprisingly easy. Whether you’re a seasoned jam maker or a beginner, this guide will walk you through each step to ensure your jam turns out perfectly every time. From selecting the best apricots to mastering the cooking process, we’ve got you covered. Plus, we’ll share some tips, tricks, and variations to keep things interesting.
Introduction to Apricot Jam
Apricot jam has been a favorite in many households for generations. This delightful spread is known for its sweet, slightly tart flavor that pairs wonderfully with a variety of foods. Making homemade jam allows you to control the ingredients, ensuring a healthier and more delicious product compared to store-bought versions. Plus, the process itself can be quite fun and satisfying!
Ingredients and Equipment
Ingredients Required
To make apricot jam, you’ll need a few simple ingredients:
- Apricots: Fresh and ripe apricots are the star of the show. Their natural sweetness and slight tartness make them perfect for jam.
- Sugar: This not only sweetens the jam but also helps with preservation.
- Lemon juice: Adds a touch of acidity which balances the sweetness and helps in setting the jam.
Necessary Equipment
Using the proper tools simplifies the process and makes it more efficient.
- Large pot: For cooking the jam.
- Sterilized jars: Essential for storing the jam safely.
- Wooden spoon: Ideal for stirring the mixture.
- Canning funnel: Helps to pour the hot jam into jars without spilling.
- Ladle: For transferring the jam into jars.
Now that you’re familiar with the basics, let’s move on to the first critical step in making your delicious apricot jam: preparing the apricots.
Preparing Apricots
Selecting the Best Apricots
Choosing the right apricots is crucial for making the best jam. When you’re at the market, look for apricots that are:
- Ripe: They should be firm yet slightly soft to the touch. Overripe apricots can become mushy and under-ripe ones won’t provide the needed sweetness.
- Bright in Color: Opt for apricots that are a vibrant orange with no green patches. This indicates that they are fully ripe and ready to use.
- Free from Blemishes: While a few minor imperfections are okay, avoid apricots with large bruises or cuts.
Fresh, high-quality apricots will give your jam the best flavor and texture.
Washing and Pitting Apricots
Before you start cooking, it’s essential to properly prepare your apricots:
- Washing: Rinse the apricots under cold running water to remove any dirt or pesticides. It’s best to do this gently to avoid bruising the fruit.
- Pitting: Cut the apricots in half and remove the pits. You can do this by slicing around the fruit’s natural seam and twisting the halves apart. Use a small knife to carefully extract the pit.
After washing and pitting, you’re ready to move on to the cooking phase, where the real magic happens! This step will transform your fresh apricots into a delicious, spreadable jam.
Cooking the Jam
Cooking Steps
Now that your apricots are prepped, it’s time to cook them into a delightful jam. Follow these steps carefully:
- Combine Ingredients:
- Place the pitted apricots in a large pot. Add an equal amount of sugar to the apricots. For example, if you have 4 cups of apricots, add 4 cups of sugar.
- Pour in the freshly squeezed lemon juice. For every 4 cups of apricots, add about 2 tablespoons of lemon juice.
- Boiling Process:
- Turn the heat to medium and stir the mixture occasionally until the sugar dissolves completely. This usually takes about 5-10 minutes.
- After the sugar has completely dissolved, turn up the heat to high and bring the mixture to a vigorous boil. Stir often to avoid burning.
- Stirring and Checking Consistency:
- As the mixture boils, you’ll notice it thickening. Continue to stir and scrape the bottom of the pot to ensure even cooking.
- After about 15-20 minutes of boiling, start checking the consistency. To do this, place a small spoonful of jam on a chilled plate and let it sit for a minute. Push the edge of the jam with your finger. If it wrinkles, it’s ready. If not, keep boiling and check again every 5 minutes.
Using Pectin vs. No Pectin
Pros and Cons of Using Pectin:
- With Pectin:
- Pro: It helps the jam set faster and ensures a consistent texture.
- Con: Some people prefer not to use commercial pectin as they like a more natural approach.
- Without Pectin:
- Pro: A more traditional method that relies on the natural pectin in the fruit and sugar.
- Con: It might take longer to achieve the desired consistency and can be slightly less predictable.
Adjustments for Non-Pectin Recipes:
- Increase the cooking time to allow the natural pectin in the apricots and the lemon juice to set the jam.
- Be more vigilant in stirring and checking the consistency to avoid overcooking.
By following these steps, you’ll be on your way to creating a batch of perfect apricot jam. Next, let’s look at how to properly can and store your homemade creation to ensure it lasts and remains delicious.